Week 12
Moulding and Casting.
In this week,I want to make a mould for chocolate,cast it. I want to do Chocolate mould for KGOC(Kuwait Gulf oil Company).
Firstly i have to design,Then i need to convert my design into machine understanding file format.
Then using CNC machine, machining the wax with CNC using the 3 mm bit and conical finishing bit. After getting the wax machined, I have to make mould out of silicon.then after pouring casting resin on the mould will get required cast.
Designing:
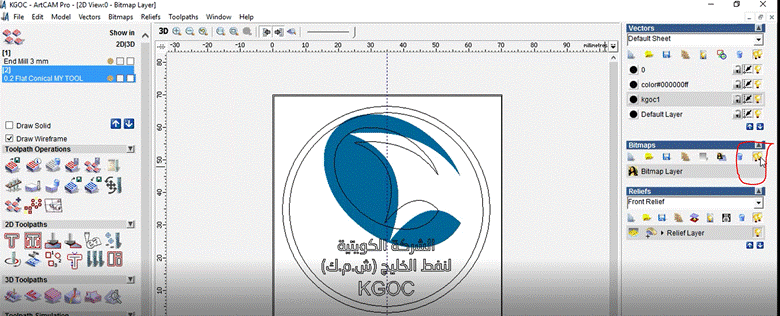
Firstly i designed vector image of KGOC logo.I imported vector image as bitmap using the tool marked in the red.
So from bitmap to
vector conversion in Art CAM is done using the tool Bitmap to Vector as shown
in the image below. I made arabic text using MS word. 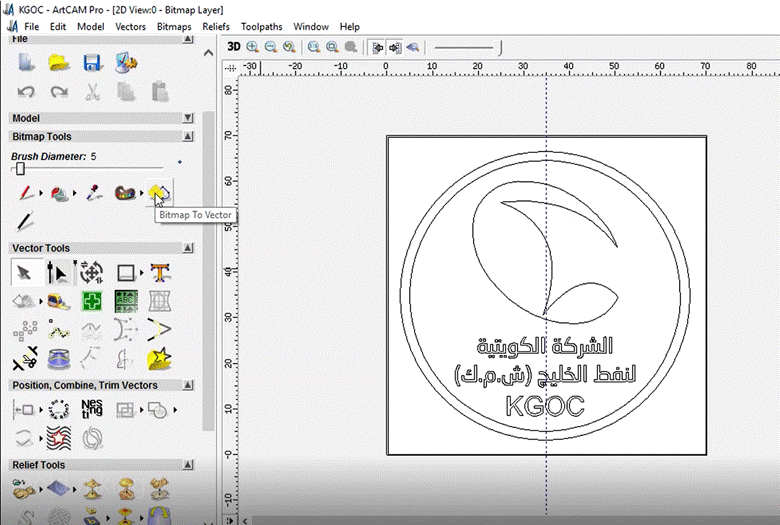
I made my design as 70mm X 70mm.
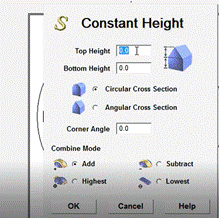
For the text and logo generation in 3D, i used some tools. For the text I used the constant height tool.
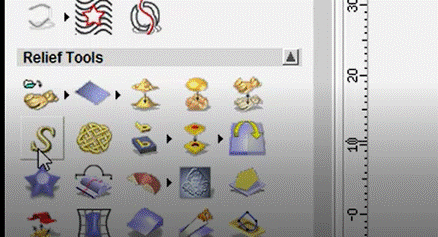
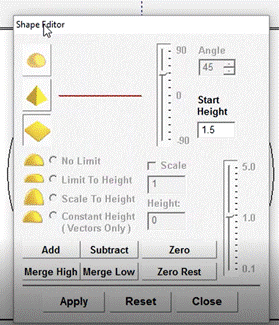
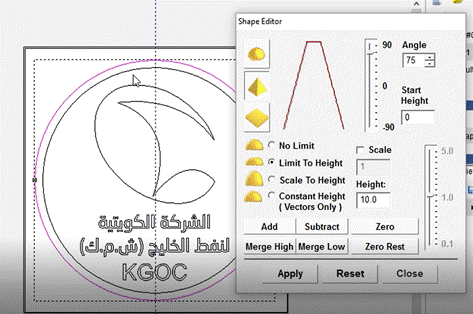
For the logo, I used shape editor and subtracted the required depth. And added corner shape (of height 10 mm and angle 75.)using limit to height option in order to get a slope on the edges for my output.Also i can easily take out silicon substance when it is dried.
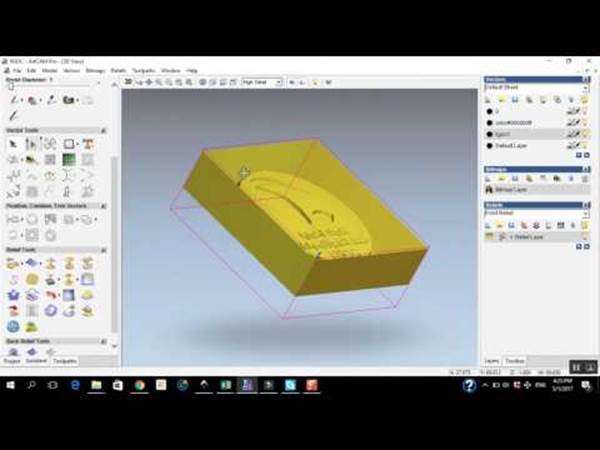
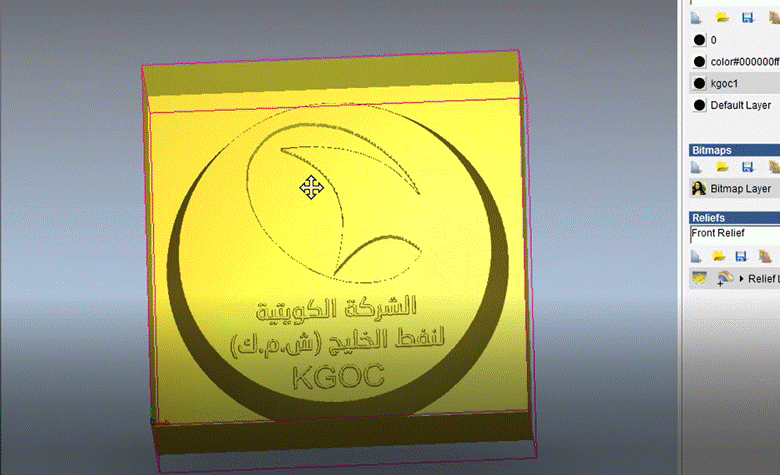
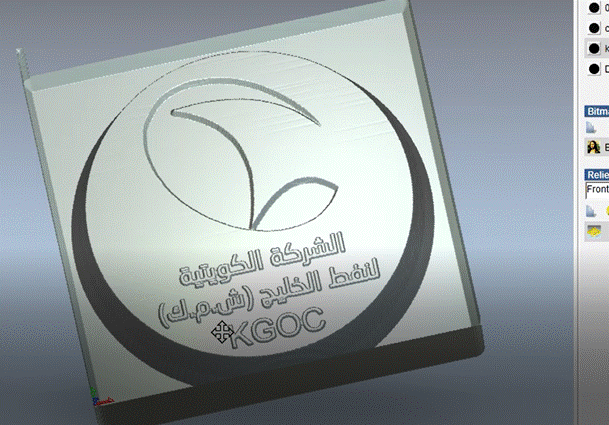
I checked the 3D output of my Art CAM.
Then i subtracted whole design to get the required depth.
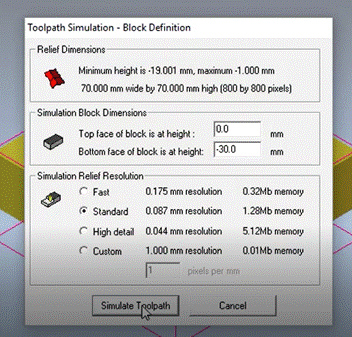
The next step is to create the tool path. I created two toolpaths. End mill 3 mm and conical finishing tool.In material setup option of toolpath generation, I gave 30 mm.
After defining the tool paths and proper parameters, I simulated the toolpaths.
Design output in Art CAM is shown as below.
Since the machining of wax takes place as rough machining
and finishing,I saved the toolpaths
separately as plt file named as 1 and 2 for roughing and finishing
respectively.
CNC Bits used for CNC machining of wax.

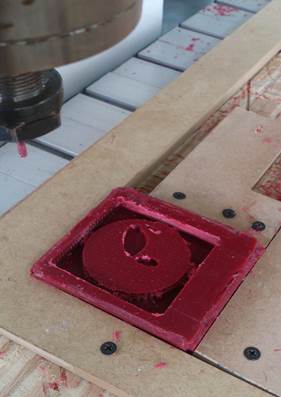
CNC machining of wax:
Firstly i loaded the bit for rough machining. End Mill 3 mm.After setting the home position for x,y and Z,I run the file for rough cut.
After completion of roughing . i loaded conical finishing bit and again setting the home position at the same location . But this time,Only Z axis homing is required. X and Y are same as earlier.
I run the finishing toolpath file .
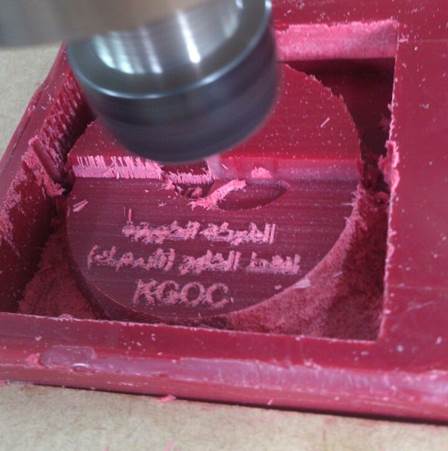
I cleaned the dusts and finally i got my design on the wax.
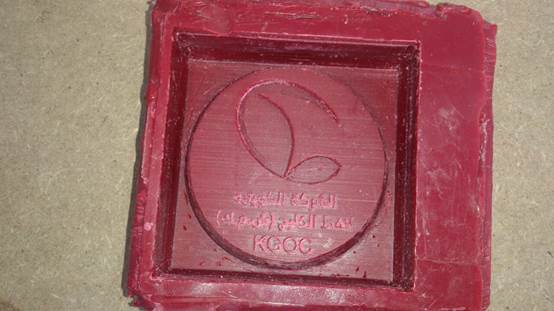
The result of CNC machining of wax for mould is :
Silicon rubber solutions mixing and pouring:
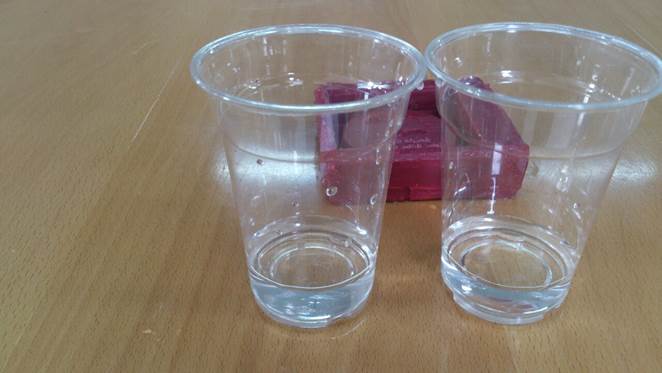
1- Firstly i filled water inside the wax.
2- I made this quantity into exact half(since there is two solutions A and B, i have to take equal amount of each to become required quantity.)
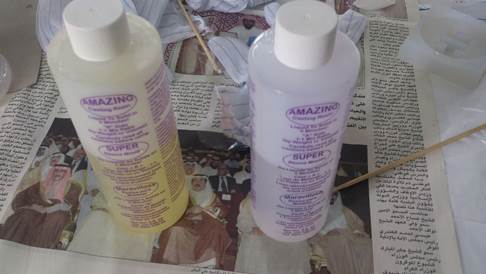
Water
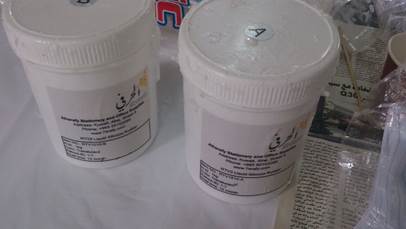
Silicon rubber solutions A and B
3- After mixing both by stirring with job stick for 3-4 minutes, I poured into the wax.
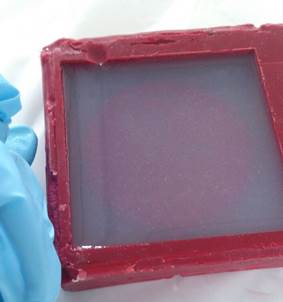
These silicon rubber mix got set after 6 hour.

Casting
For casting, mixing of cast resins shown below are required.
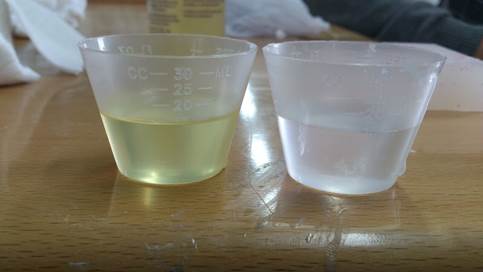
Before mixing, i want to get the quantity of resin required for cast. I poured water in the silicon mould and i measured the amount using measuring cap.
The amount required is 30 ml.But both resins needs to be 1:1 ratio.
I took 15 ml of each resins in the measuring cap.
I mixed both resins by stirring and poured in the mould.
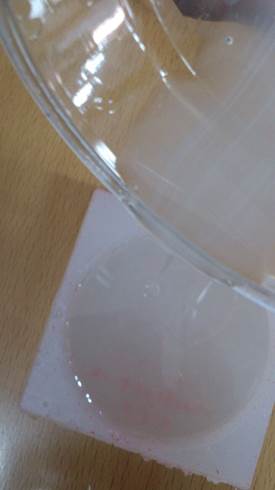
The cast resin got set quickly compared to silicon rubber. Cast got set within 20 minutes.
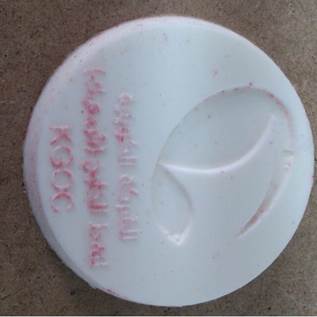
My final cast got as shown below.
Problem faced:
Texts on the cast are not that much clear. Because the thickness was not enough for the bit used.
Files:
Art CAM generated tool path for rough cut (3 mm End mill) : Rough cut toolpath
Art CAM generated tool path for finishing cut (conical bit) : Fine cut
Video link for ArtCAM processing: